Installing Network Sensor
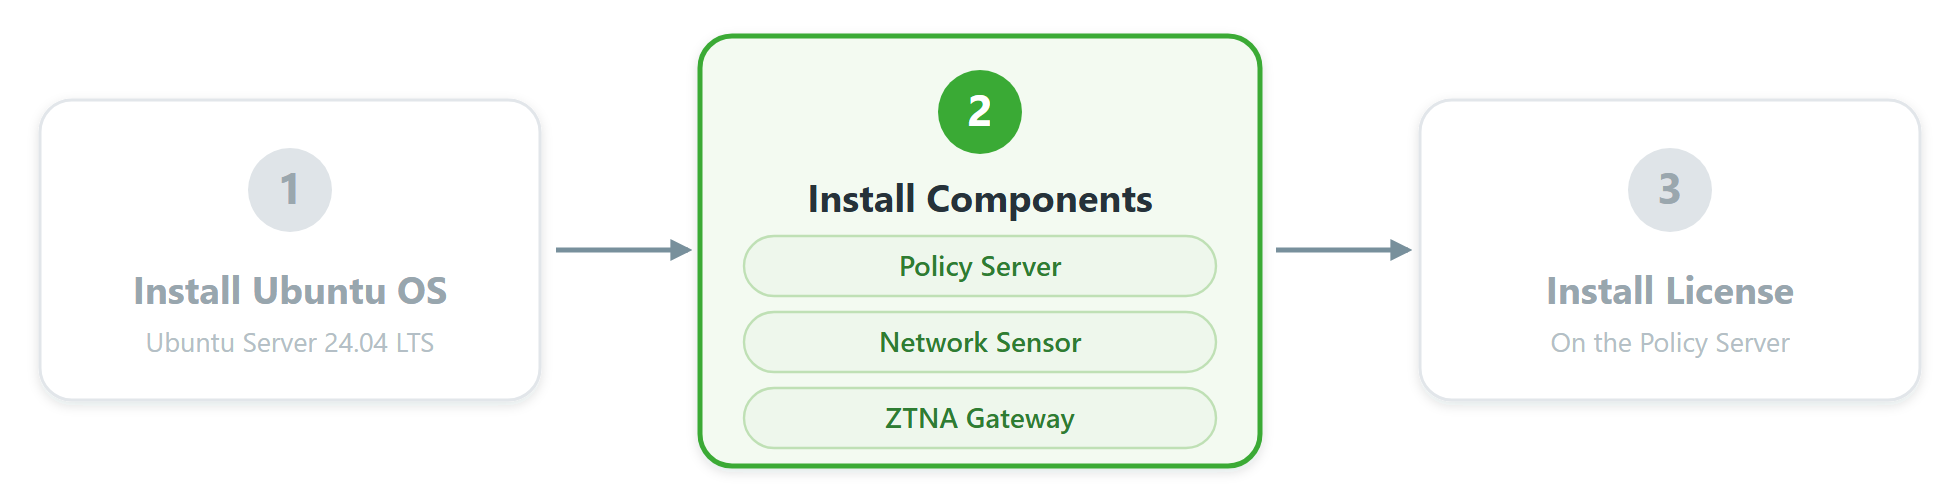
You are here: Step 2 — Install Components.
Prepare the Environment
Note
Note
Even if you use the Cloud version, the Network Sensor must be installed inside your internal network.
Prepare Network Connectivity
Genian Network Sensor requires network connectivity with one or more static IP addresses.
The sensor must monitor broadcast packets (ARP, DHCP, UPnP, etc.) on the network and be connected to all segments (broadcast domains) you plan to manage.
If you are using VLAN-capable switches, you can set up an 802.1Q trunk port to monitor multiple networks via a single physical interface.
When installing the Network Sensor in a virtual environment, the VM (sensor) must be able to directly communicate with all segments you want to monitor and control.
Note
When using a virtual machine, set the network interface type to Bridge mode.
To collect wireless LAN information, install a compatible wireless network adapter on the sensor. See the document below.
Access Port
When monitoring a single network via a switch Access Port, no additional switch configuration is required. If the system has more than one NIC, you can monitor multiple segments through multiple Access Ports.
Trunk Port
To monitor multiple VLANs from a single interface, configure the switch port as a Trunk Port using the 802.1Q protocol. Below are examples of configuring Trunk Port (802.1Q) on Cisco and HP switches.
Cisco Switch example
Cisco(config)#interface gi1/0/48
Cisco(config-if)#switchport trunk encapsulation dot1q
Cisco(config-if)#switchport mode trunk
HP Switch example (create Port 48 as a tagged interface)
Procurve(config)#vlan 100
Procurve(config)#tagged 48
Procurve(config)#vlan 200
Procurve(config)#tagged 48
If the Network Sensor runs on a virtual machine (ESXi, Hyper-V, or XenServer) and is connected to a trunk port, the virtual switch must also be configured for trunking. See Configuring Trunking in Virtual Environments.
Install the Network Sensor
Step 1: Switch from Ubuntu user to root
genian@genian:~$ sudo su
[sudo] password for genian:
root@genian:/home/genian#
Step 2: Update and upgrade packages
root@genian:/home/genian# apt-get update
root@genian:/home/genian# apt-get upgrade
Step 3: Install curl (required for install)
root@genian:/home/genian# apt install curl
Step 4: Install the Network Sensor with the following command
curl -sSLk https://bit.ly/4fX6bQ8 | sudo PROMPT=1 SSHALLALLOW=1 SSHPORT=22 TARGET=GNS DEB=ztna LOCALE=en bash -
Initial Configuration Wizard
When the installation command finishes installing the packages, the Initial Configuration Tool starts automatically in the same terminal, before the system reboots. Answer the prompts in order. A value in brackets is the default; press Enter to accept it.
The following example configures a Network Sensor connected to an access port.
1. Interactive Wizard
2. Manual Configuration

Select installation type: 1

Enter administrator username (4-31 characters) [admin]: admin

# Password must contain at least one alphabet, number and special character
Enter administrator password (minimum 9 characters):

Re-enter Password:

Is 'eth0' connected to 802.1Q trunk port (y/n) ? n

# Network configuration for [eth0]

Enter IP Address: 192.0.2.20

Enter Netmask [255.255.255.0]:

Enter Default Gateway: 192.0.2.1

Enter DNS Server IP Address(es) (seperated by comma): 192.0.2.53

Enter Policy Server Name/IP: 192.0.2.10

  NOTE: If Use Installation Token is ON in Policy Server > Preferences > General > Nodes > Enable Installation Token.
        please enter the token.

Do you want to enter token now(You can enter it later via CLI node-server token). (y/n) ? y

Enter Policy Server Token for Sensor: <installation token>
Prompt |
Description |
|---|---|
Select installation type |
1. Interactive Wizard: Configure the sensor with the prompts below.
2. Manual Configuration: Set only the administrator account and exit. Configure the rest in the CLI as described in Configure the Network Sensor.
|
Administrator username / password |
The account for the sensor CLI. The username is 4–31 characters (default admin). The password is at least 9 characters and includes letters, numbers, and special characters. |
Select management interface |
Asked only when the system has two or more network interfaces. |
802.1Q trunk port |
Type y if the interface is connected to an 802.1Q trunk port, then enter the VLAN IDs to monitor (for example, 20,30-35, up to 128) and the VLAN ID of the management interface. Otherwise type n (access port). |
IP address / Netmask / Default gateway / DNS server |
Network settings of the management interface. Values configured during the Ubuntu installation may be pre-filled. The settings take effect after the system reboots. |
Policy Server Name/IP |
The IP address or host name of the Policy Server that manages this sensor. |
Installation token |
Required when Enable Installation Token is On in the Policy Server (Preferences > General > Node). The default is On for the Cloud version and Off for on-premises.
Type y and enter the token, or type n and enter it later with the
node-server token CLI command.See Token-based Policy Server access for where to find the token.
|
After the last prompt, the Configuration Summary is displayed. Verify the values and type y to start, or n to start over. The tool then checks the network interface, default gateway, DNS server, and the HTTPS and UDP (keepalive) connections to the Policy Server. If a check fails, check the firewall between the sensor and the Policy Server, then choose 1 (Testing again), 2 (Reconfigure), or 3 (Continue).
Note
The Network Sensor installation command uses PROMPT=1, so when the installation finishes, it asks now reboot (y/n)?. Type y to reboot. The network settings take effect after the reboot.
Configure the Network Sensor
If you selected 2. Manual Configuration in the wizard, configure the Network Sensor with the following steps.
Step 1: Access Ubuntu and gnlogin
After installation, access Ubuntu and gnlogin to perform initial setup.
genian@genian:~$ sudo su
[sudo] password for genian:
root@genian:/home/genian#
# Gain root privileges
root@genian:/home/genian# gnlogin
# Enter Genian Shell
Note
You must have root privileges to apply interface settings properly.
Step 2: Configure the Network Sensor
Enter global configuration mode with the enable command.
Enter configuration mode with the configure terminal command.
Set the interface IP address and subnet mask.
Set the interface default gateway.
Set the device default gateway.
Set the device DNS server.
Configure the Policy Server information by IP or Hostname.
genian> enable
Password: (For the enable password, contact Technical Support)
genian# configure terminal
genian(config)# interface [interface name] address [IP] [Subnet Mask]
genian(config)# interface [interface name] gateway [IP]
genian(config)# ip default-gateway [IP]
genian(config)# ip name-server [IP]
genian(config)# node-server IP [IP]
genian(config)# node-server Host [Hostname]
# If you configured interfaces during Ubuntu installation, some IP settings may already exist.
Note
For configuring VLAN interfaces on a trunk interface, see Adding and Deleting Network Sensors.
Unsupported Hardware
If installation does not proceed normally, contact your partner engineer or Technical Support.
Note
In virtual environments, if the storage device or network interface is not recognized, change the storage type to SATA or change the network interface driver to an Intel family such as E1000.