Installing Ubuntu OS
Before installing NAC 6.0, you must first install Ubuntu OS 24.04.
Note
Installation Overview
Installing NAC 6.0 consists of three steps. Complete each step in order. This page covers Step 1 — Install Ubuntu OS; the linked pages cover Steps 2 and 3.
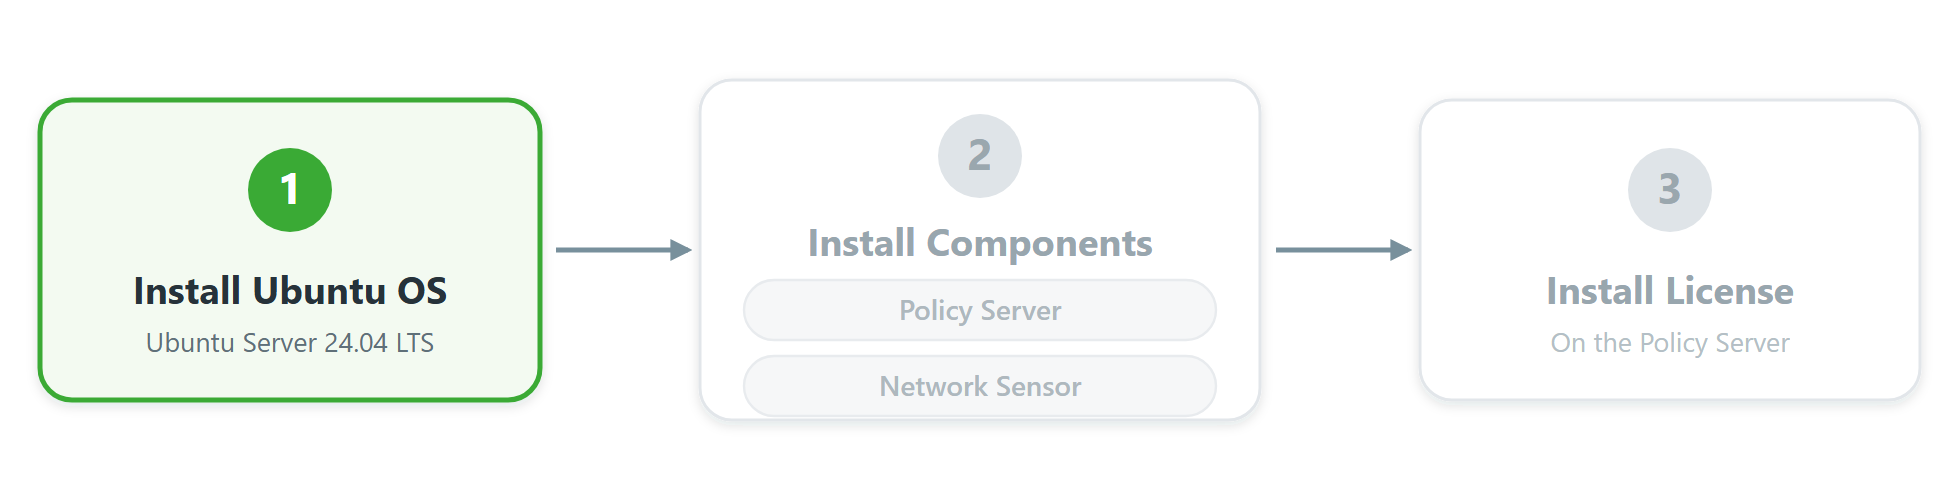
You are here: Step 1 — Install Ubuntu OS. Complete each step in order; the license is installed on the Policy Server.
Prepare Hardware
You can install the Policy Server on a physical system or a virtual machine.
Minimum Requirements
Component |
CPU |
Memory |
Disk |
|---|---|---|---|
NAC 6.0 Policy Server |
Intel® Core i3-12100 @ 3.3GHz (4C8T) or higher |
DDR4 16GB or higher |
SSD 512GB or higher |
NAC 6.0 Network Sensor |
Intel® Processor N95 @ Max 3.4GHz (4C4T) or higher |
DDR4 4GB or higher |
SSD 128GB or higher |
Note
Prerequisites
Prepare the image file
Download Ubuntu 24.04.4 LTS image from the official Ubuntu website.
The Ubuntu Server version is recommended.
If installing on hardware, create a bootable USB
If installing on an AWS instance
Prepare the instance according to your cloud provider's documentation (e.g., AWS EC2 Launch Instance guide).
Install Ubuntu 24.04.4 LTS
Install Ubuntu Server using the image file downloaded from the official Ubuntu website.
Step 1: Boot the device
If installing on hardware: Boot the device using the bootable USB.
If installing in a virtual machine: Attach the downloaded ISO file to the VM and boot.
Step 2: Install Ubuntu
Boot from the bootable media that contains the Ubuntu Server installation image.
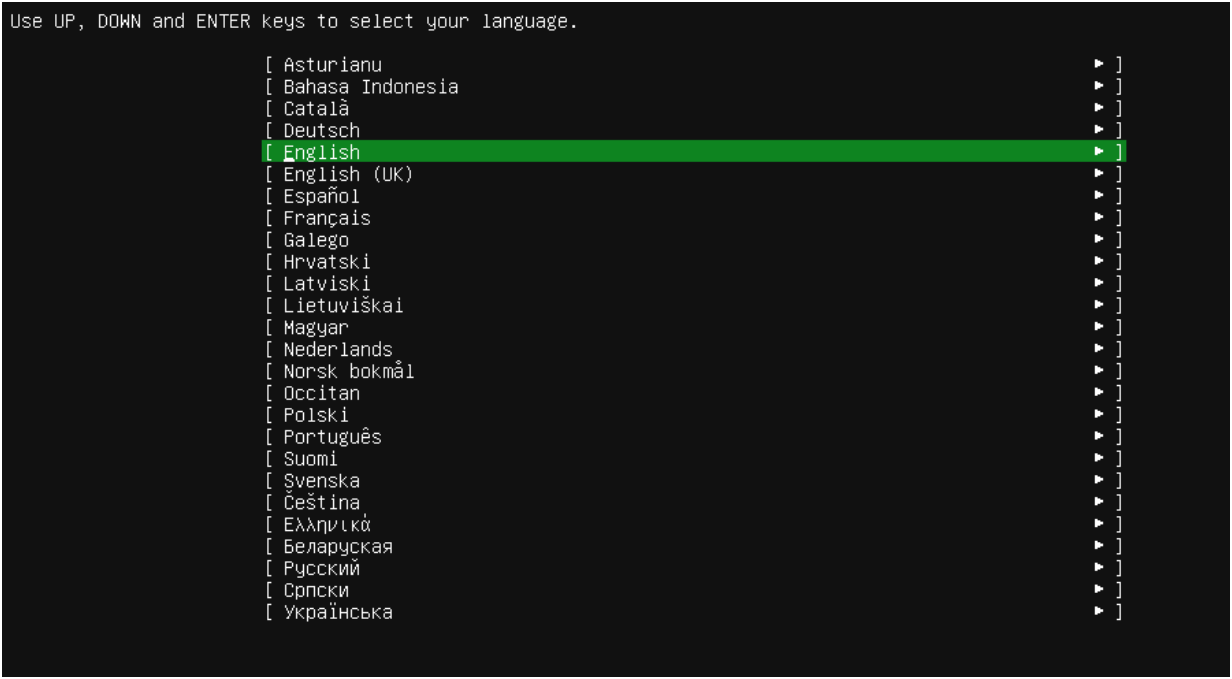
Select the language that suits your environment.
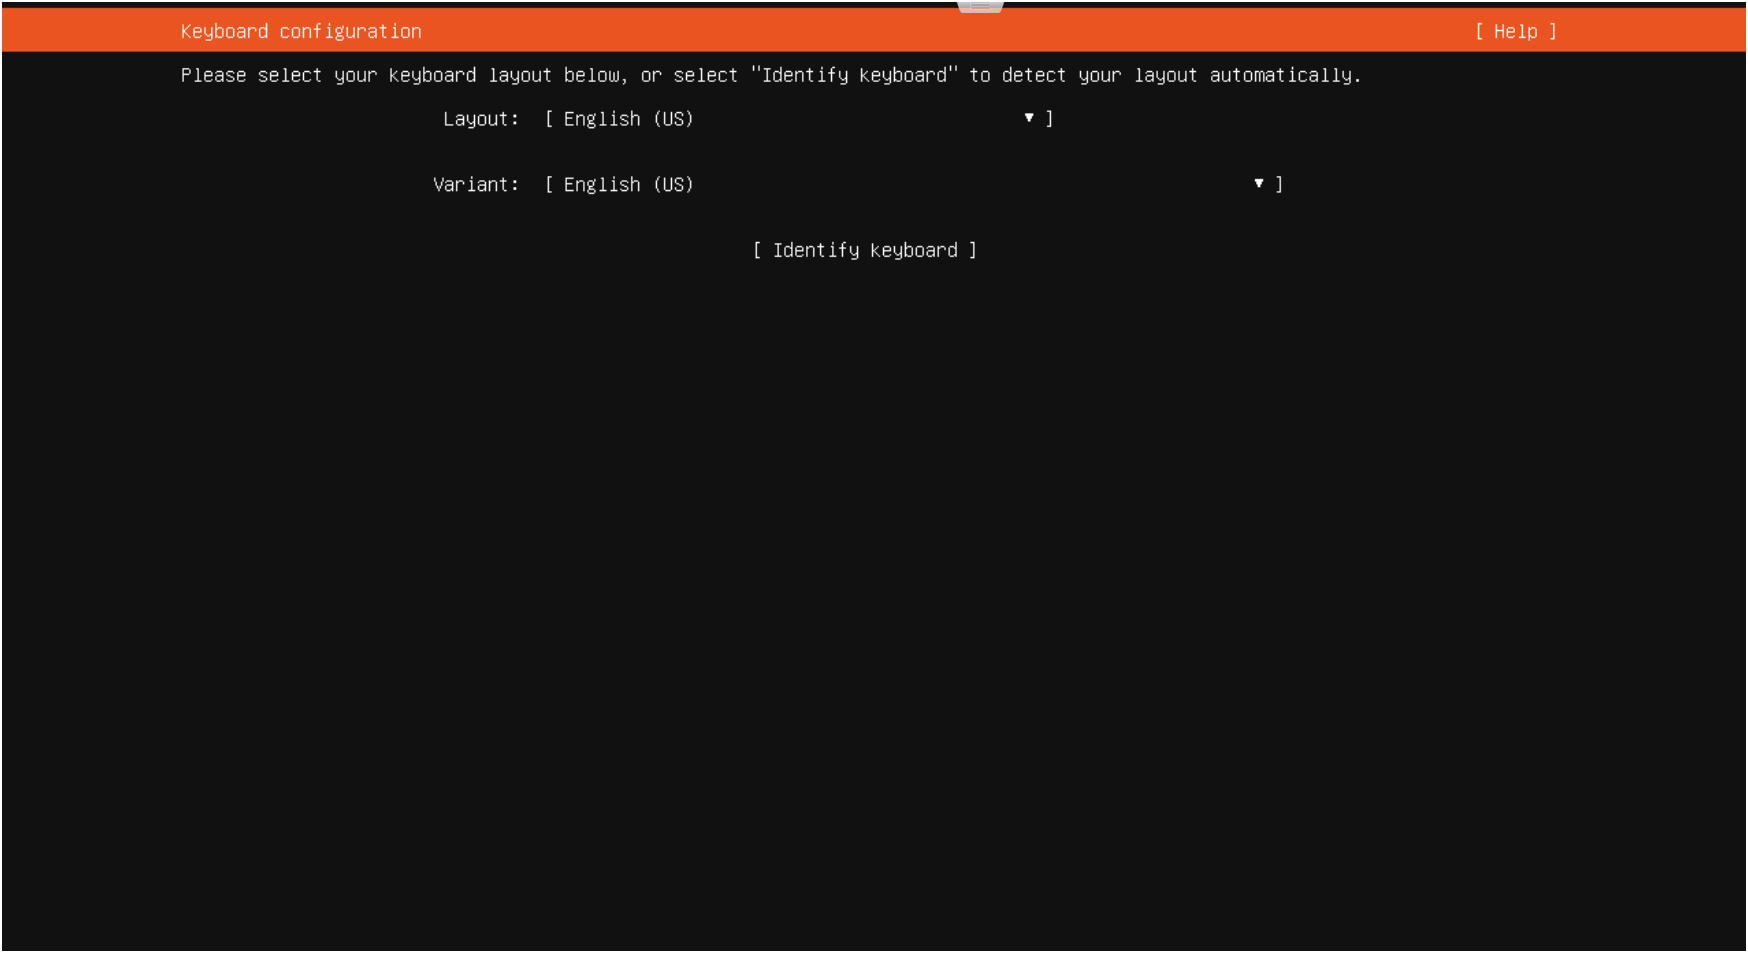
Configure the keyboard layout.
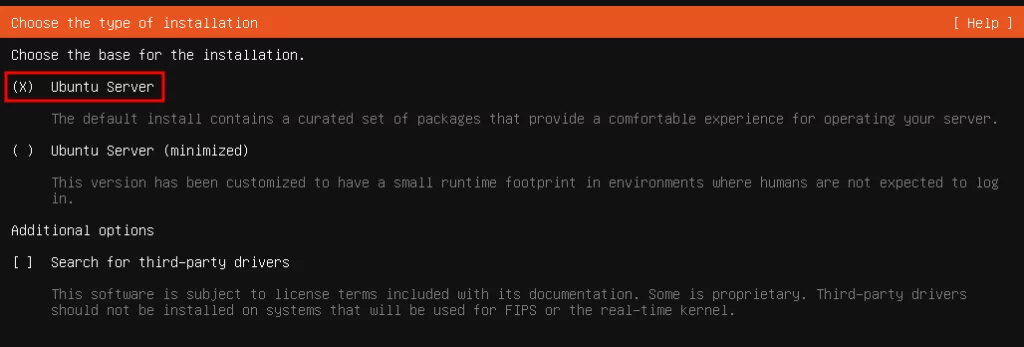
Select Ubuntu Server as the installation type.
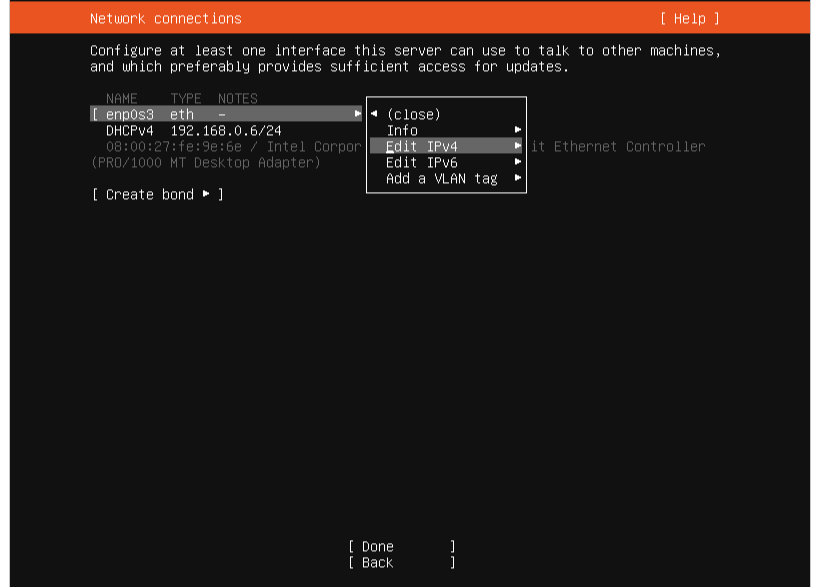
For network configuration, select the network interface in use.
Select Edit IPv4.
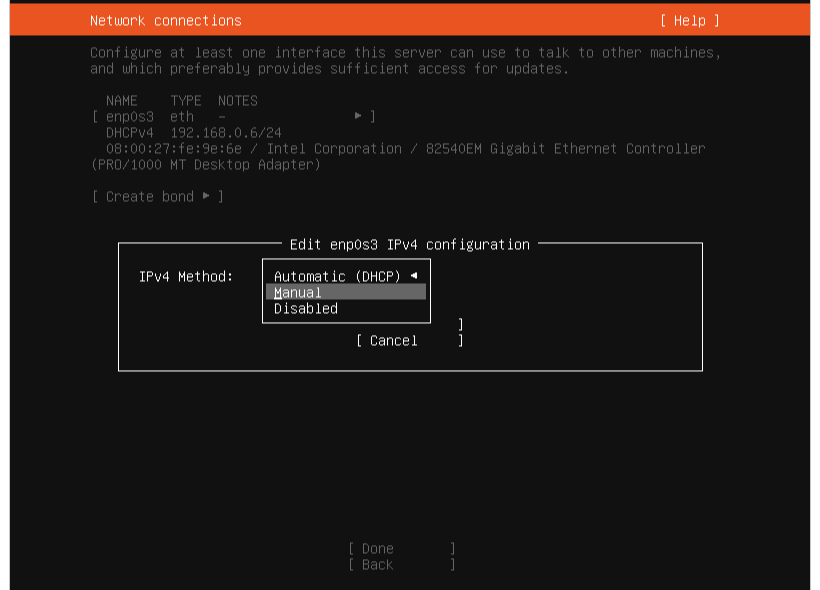
Change Automatic (DHCP) to Manual.
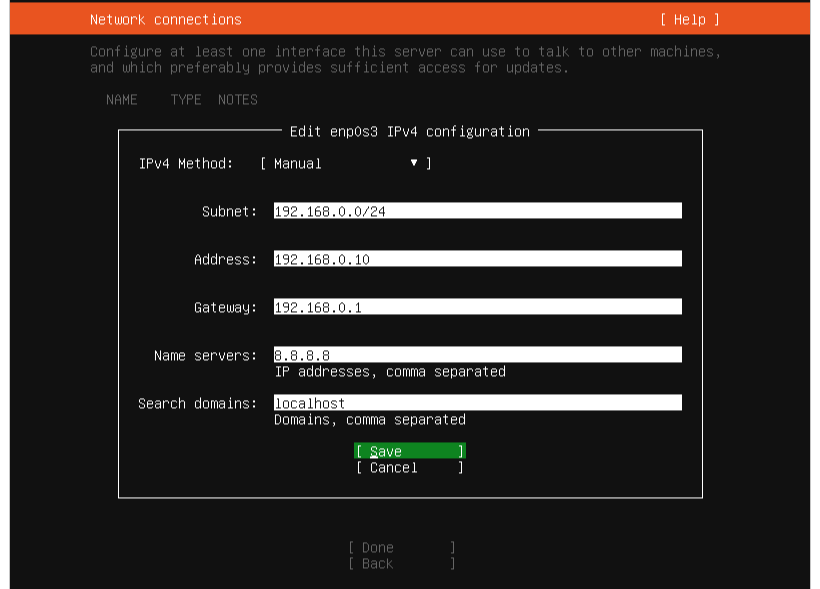
Enter the values according to the table below and select Save.
Note
Field (Required)
Description
Subnet
Subnet mask
Address
Static IP address assigned to the device
Gateway
Gateway address
Name Server
DNS server address
Search domains
Leave blank
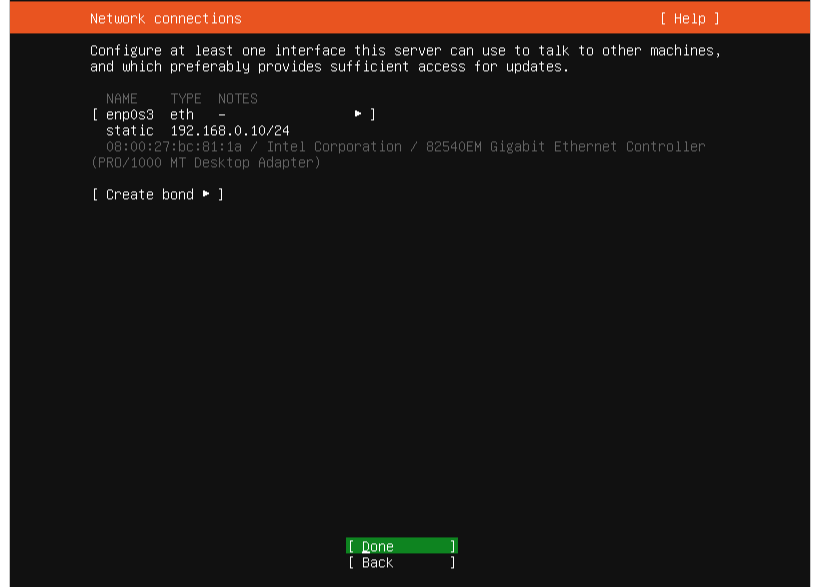
Verify that the configured static IP has been applied.
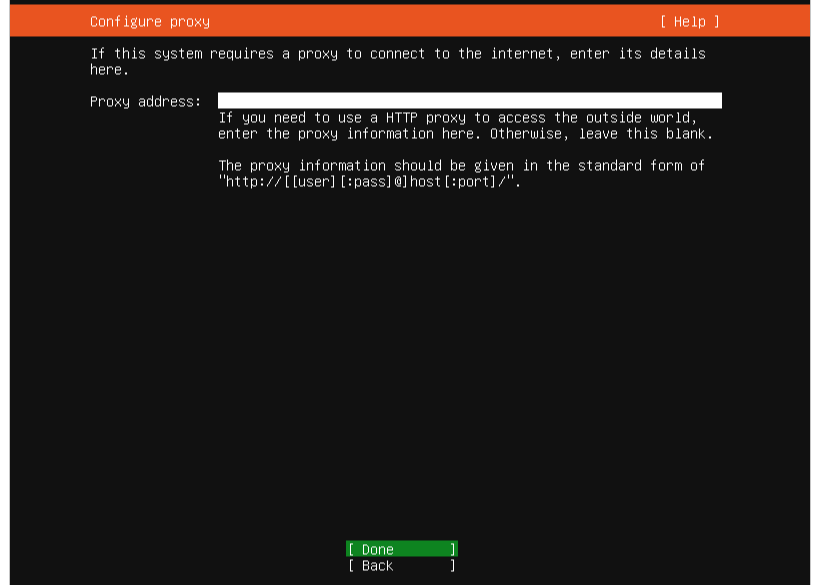
If using a proxy server, enter the Address; otherwise, leave it blank and select Done.
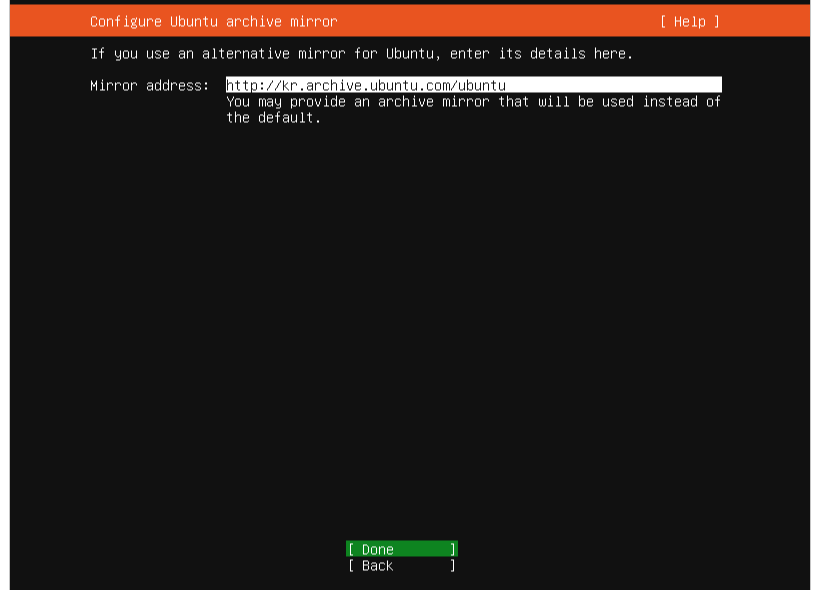
If you have a preferred Ubuntu Mirror Server, set it; otherwise, use the automatically populated value and select Done.
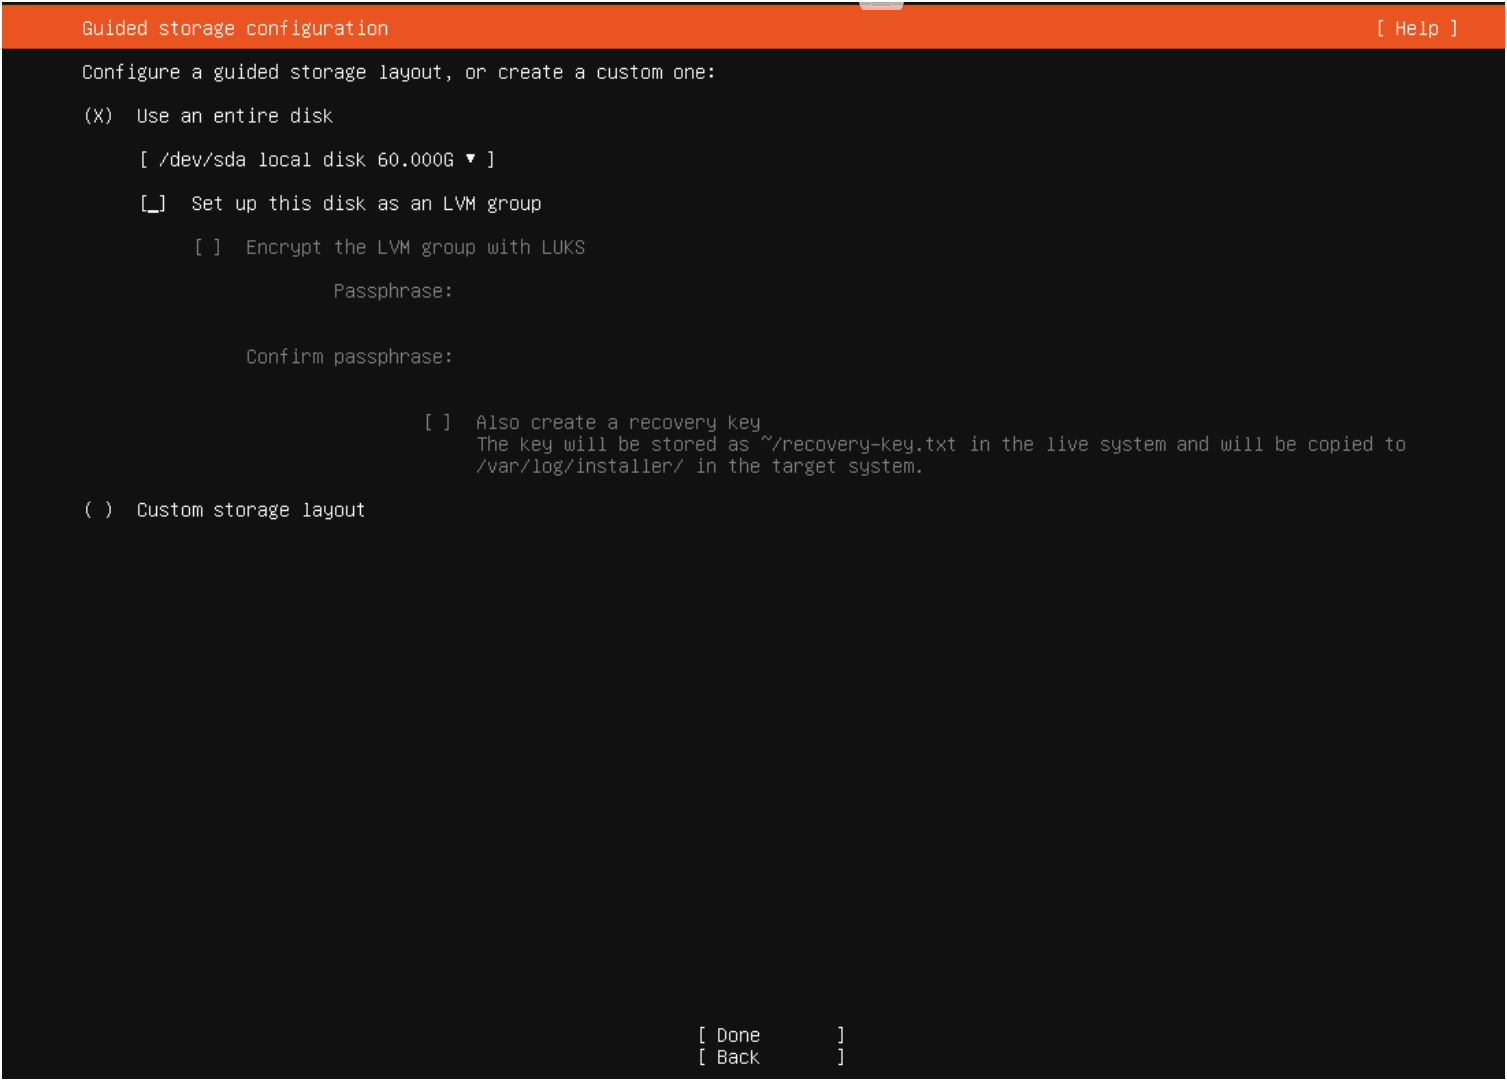
Uncheck Set up this disk as an LVM group and select Done.
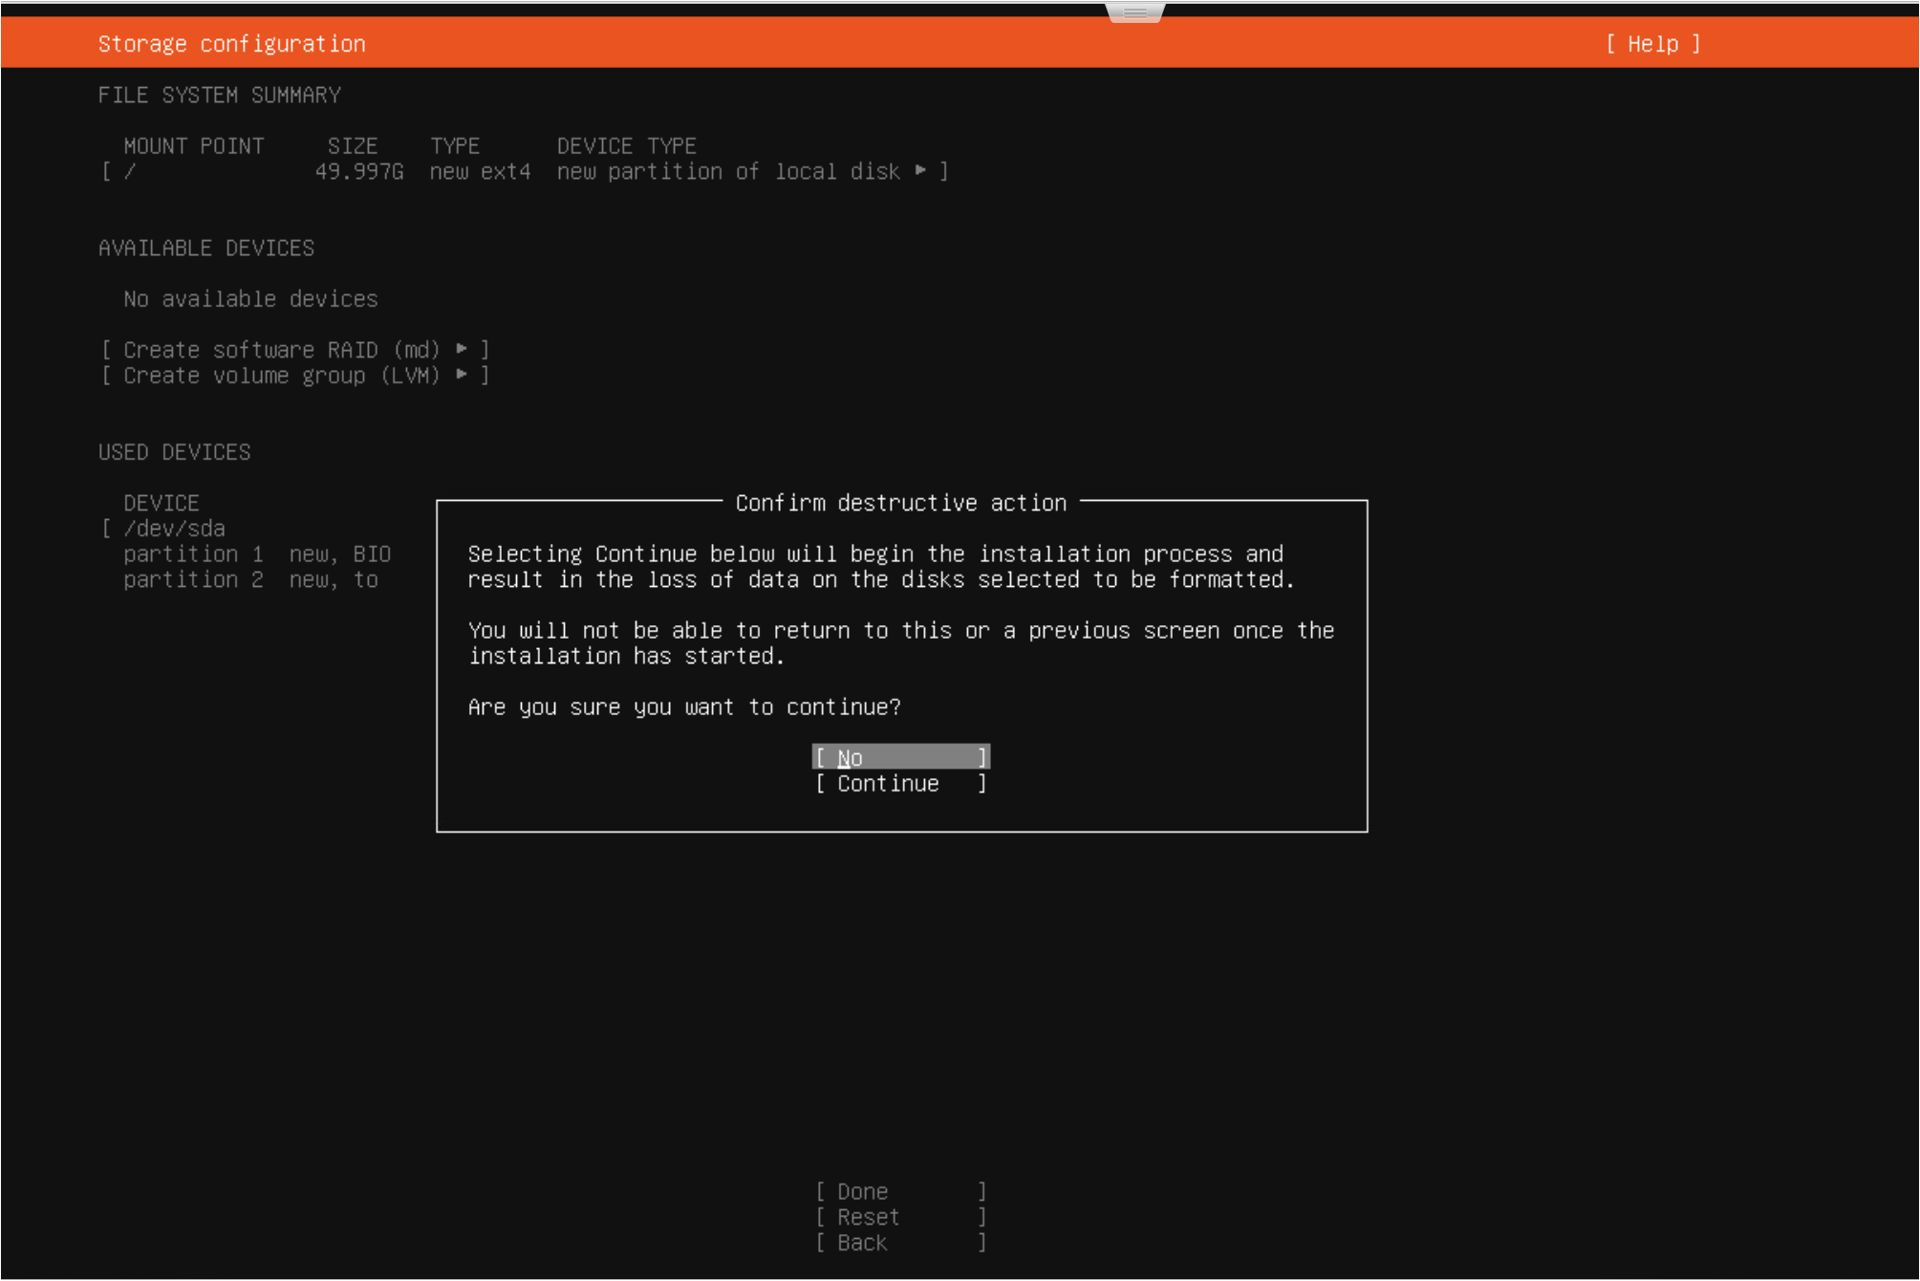
Review the partition/file system changes and select Done.
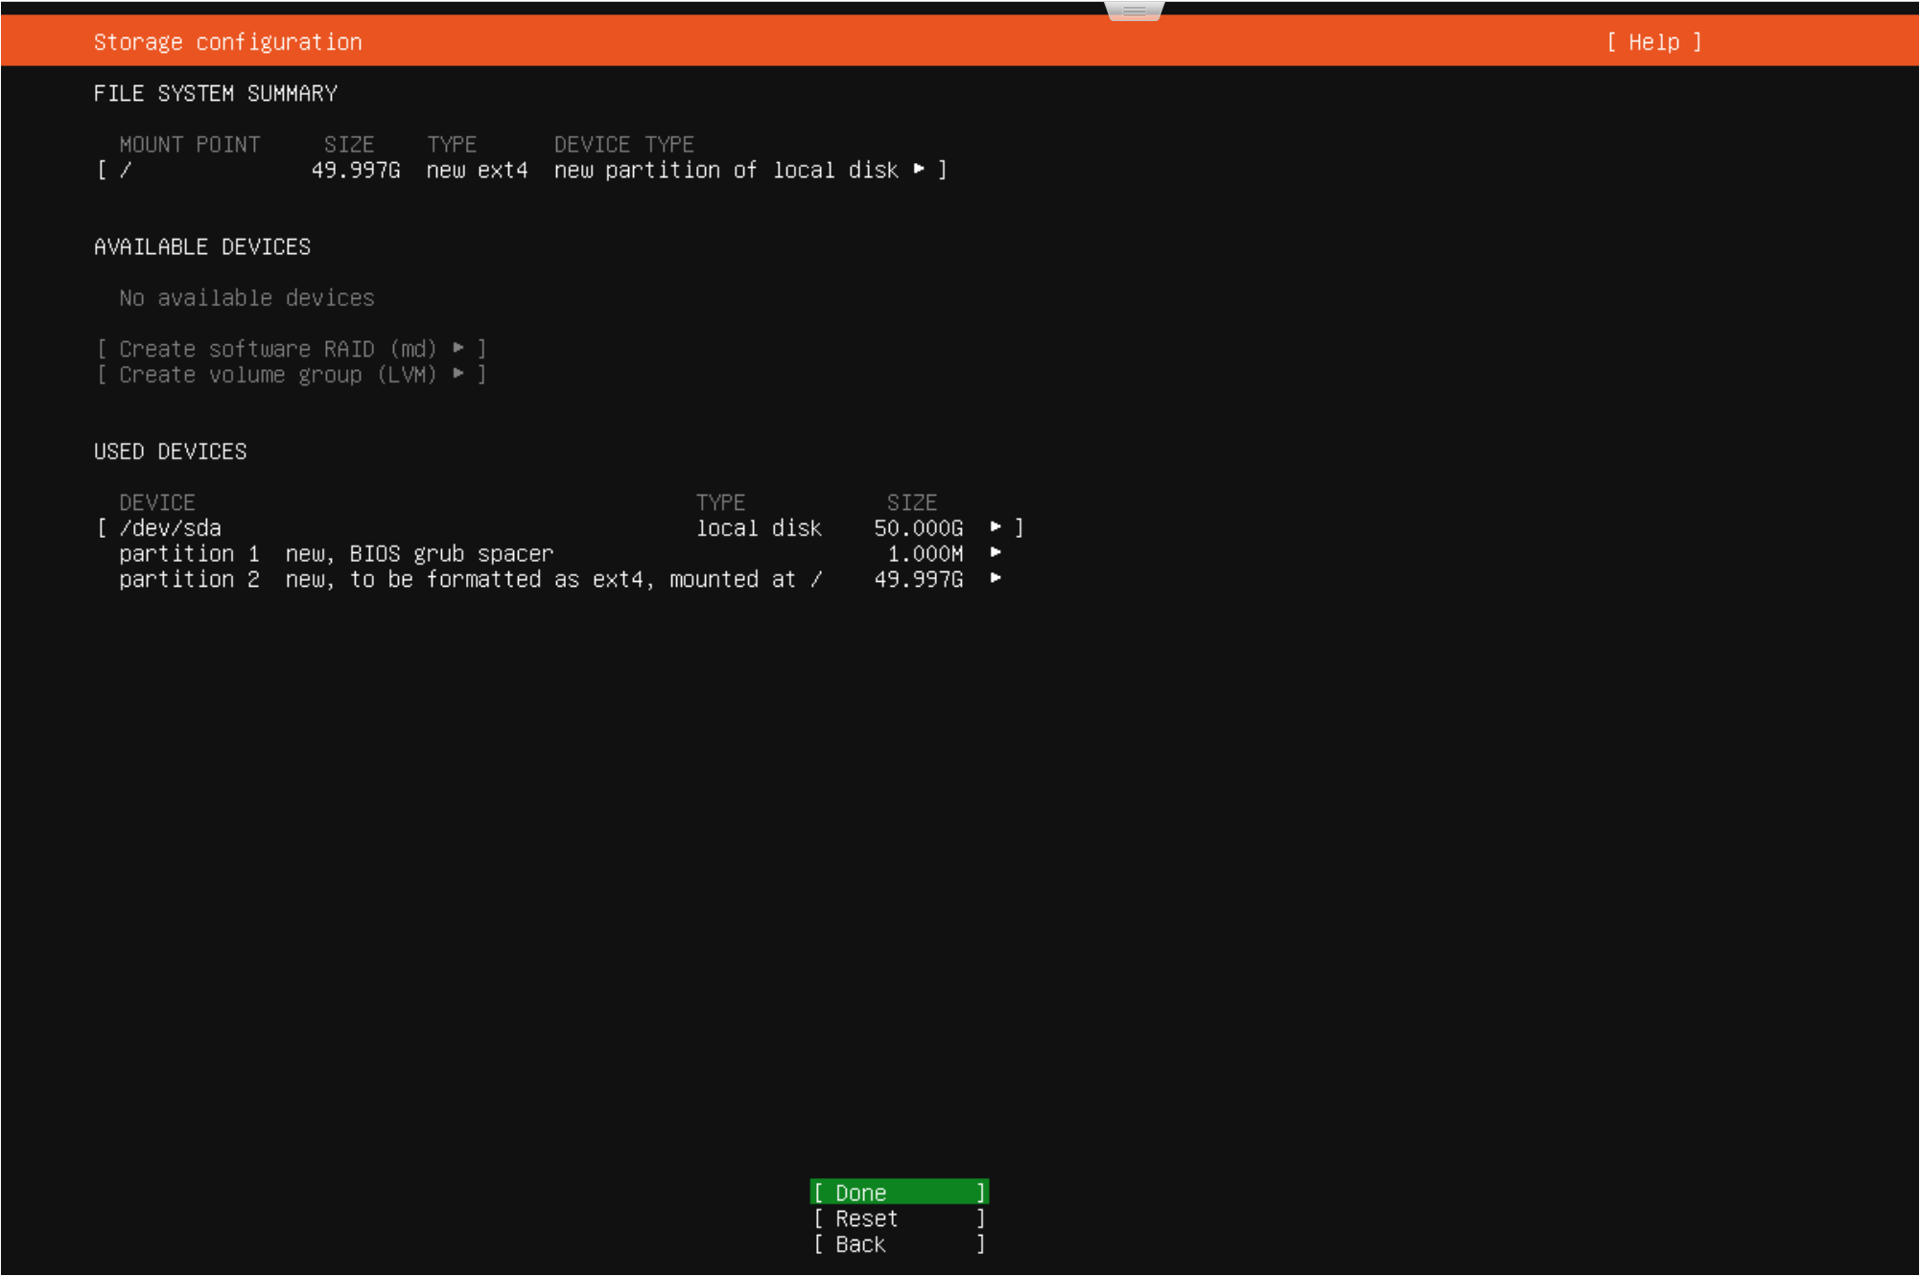
If there are no issues with the partition changes, select Continue.
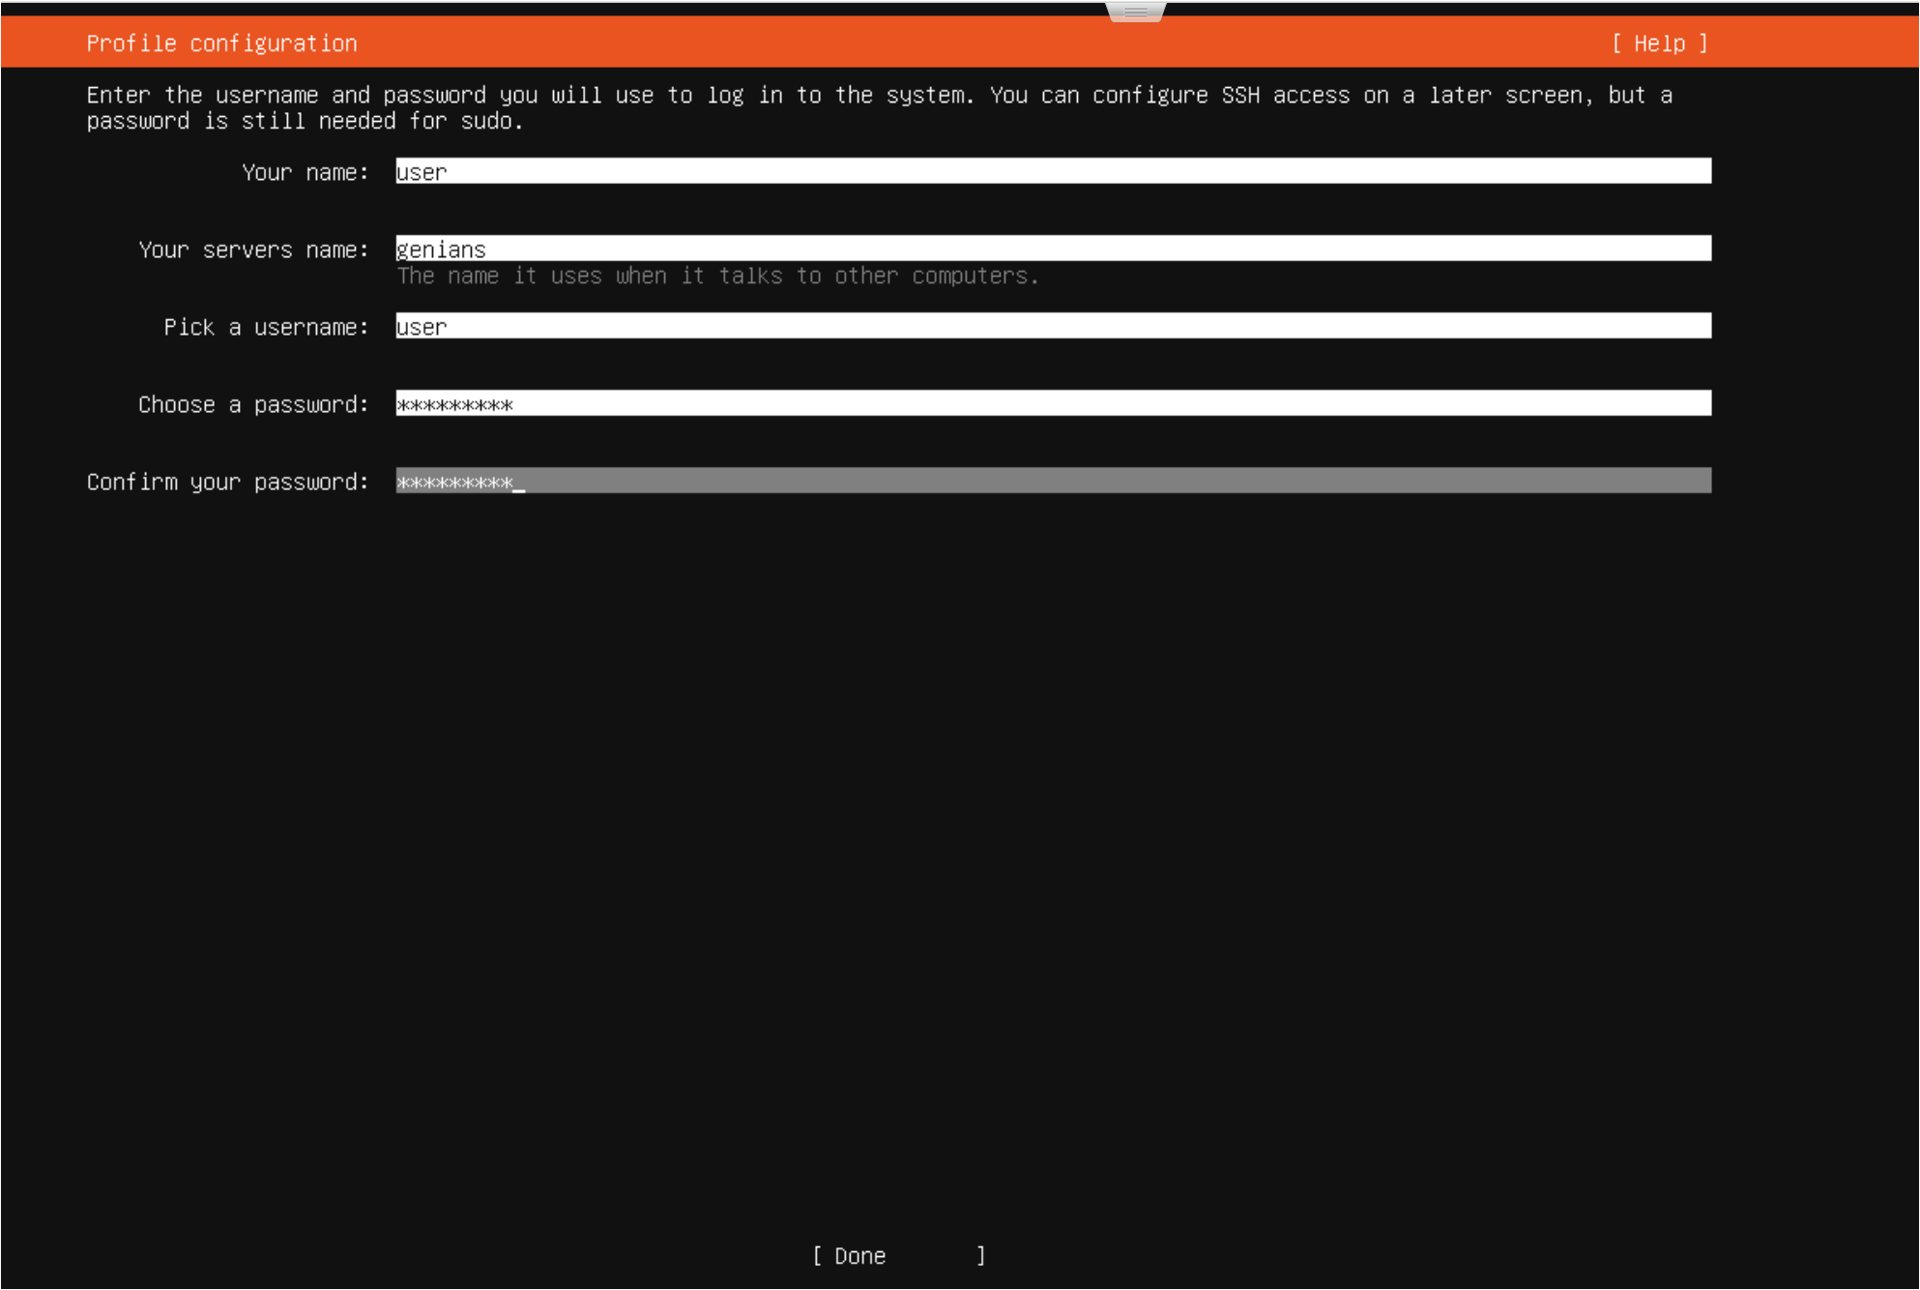
Enter the Ubuntu OS user information using the table below and select Done.
Note
Field (Required)
Description
Your name
User name
Your computer’s name
Device name
Pick a username
Ubuntu login account (ID)
Choose a password
Login password
Confirm your password
Confirm login password
Check Install OpenSSH server for remote access.
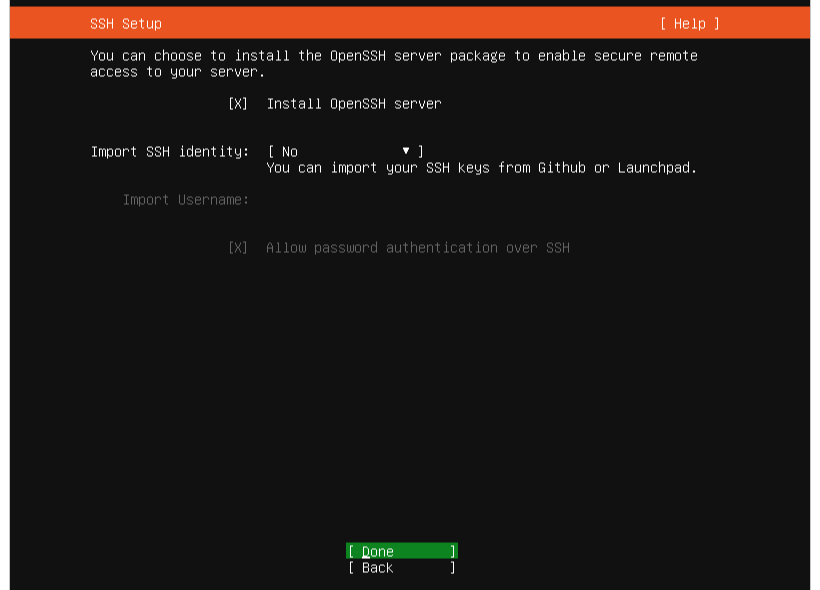
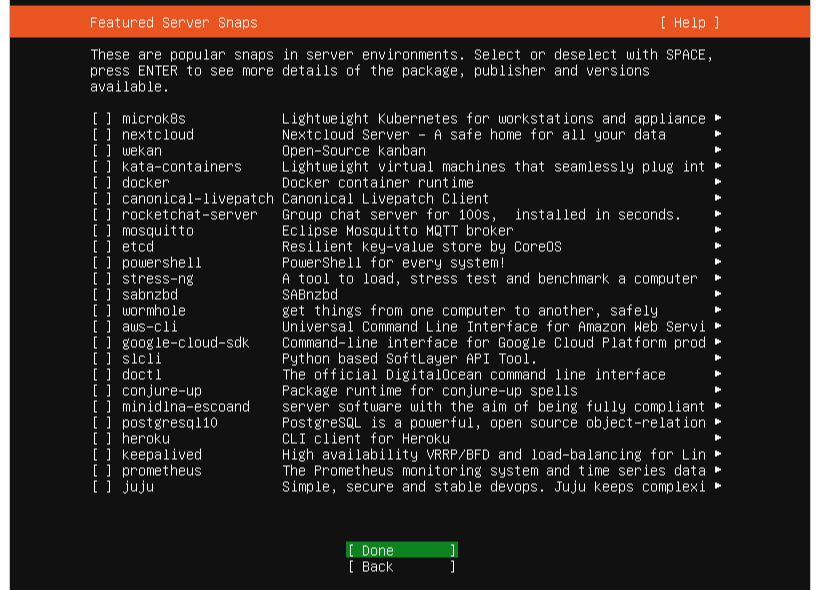
Do not install additional features; select Done.
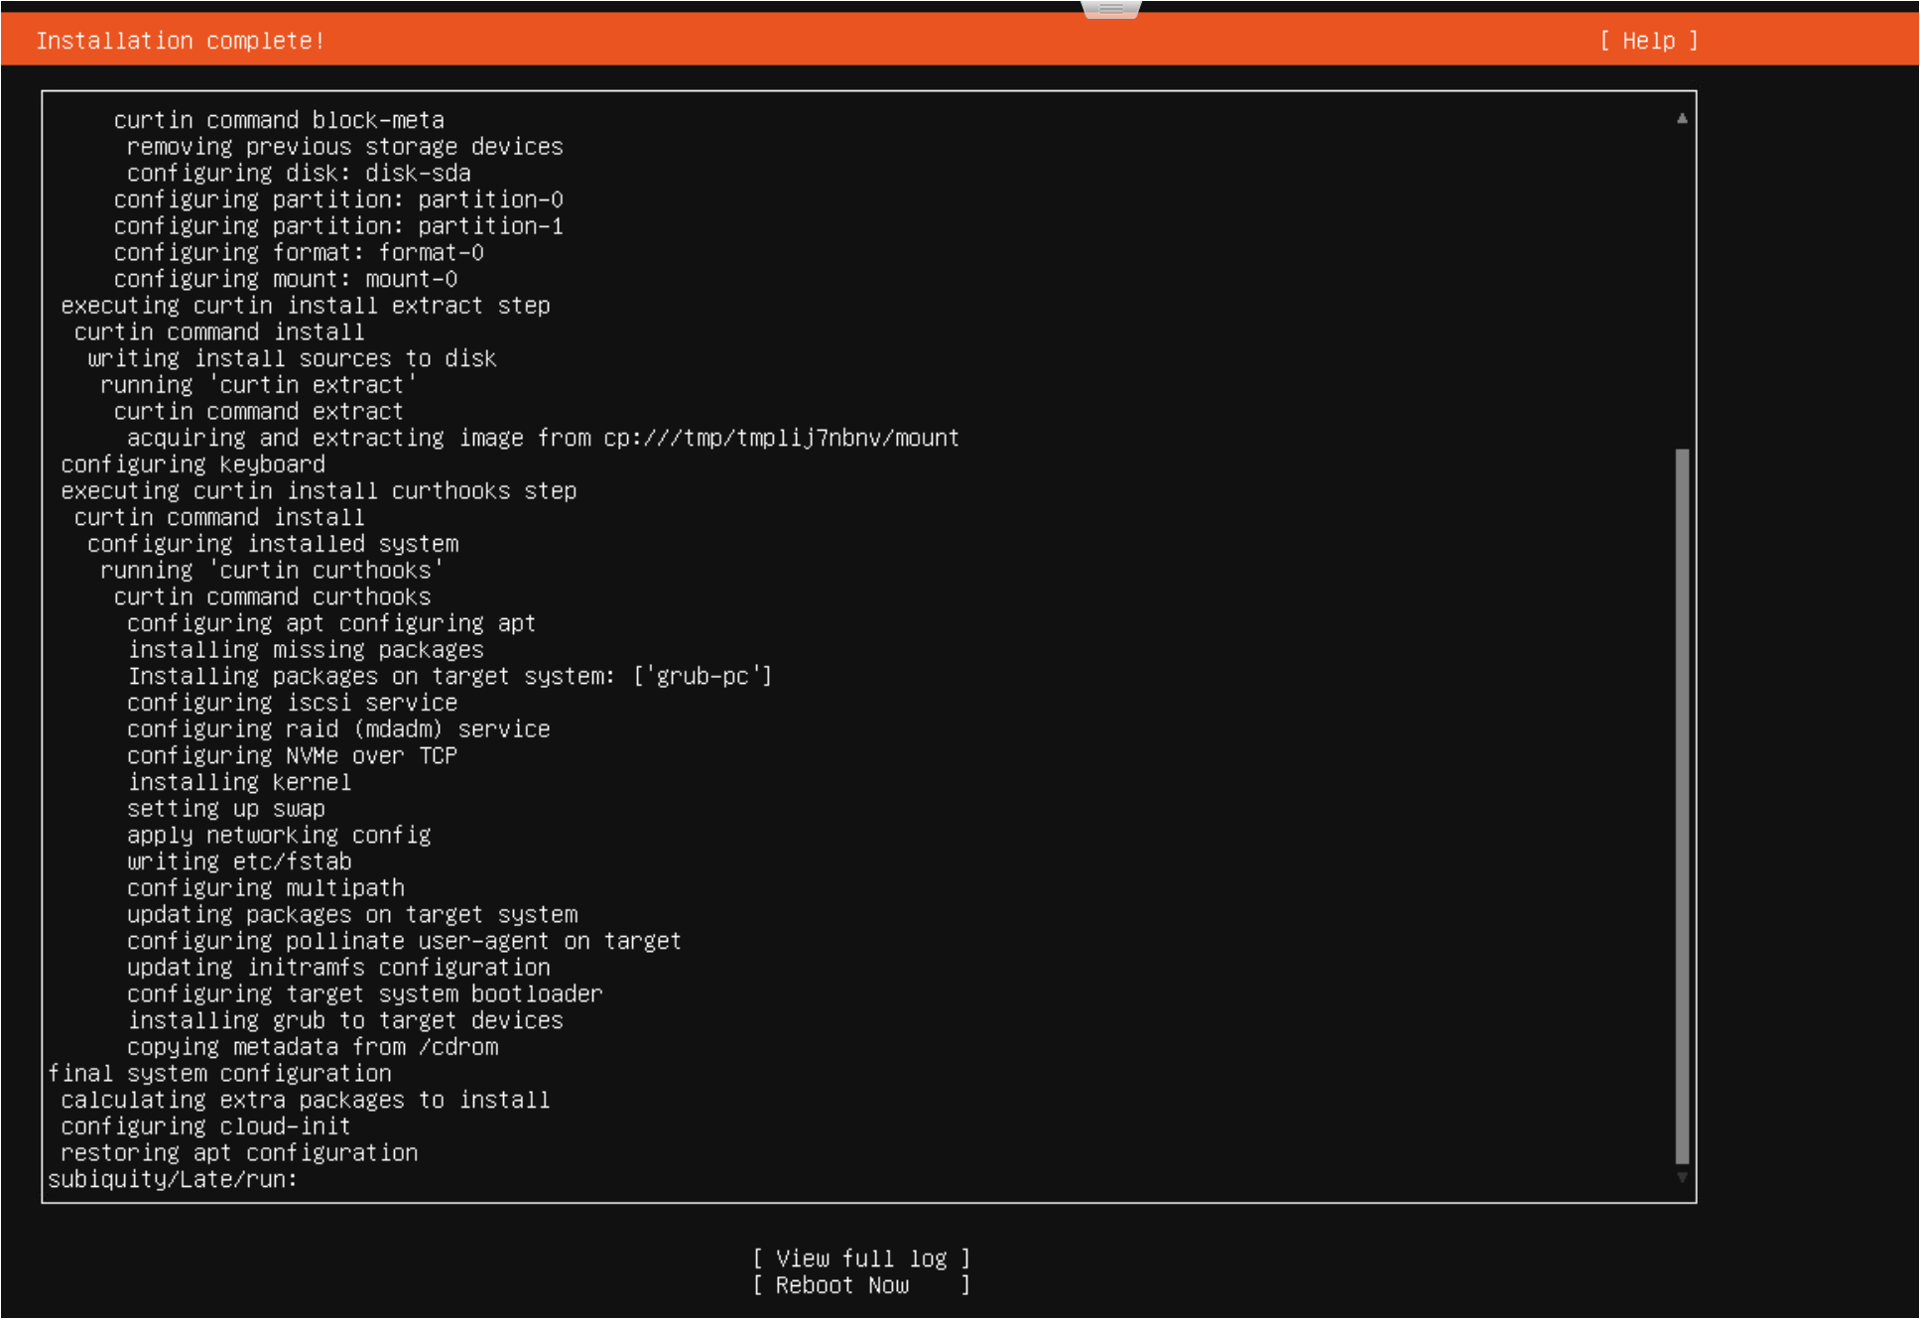
When Install complete appears at the top left, select Reboot Now.
Log in with the user information you entered earlier.
Next Steps After Installation
Ubuntu Server installation is complete. Proceed with the next installation according to your use case.